


How to Achieve a Flawless Interior Paint Finish
A flawless interior paint finish is about much more than choosing the right colour. Achieving a smooth, professional result requires proper preparation, quality materials, the right tools, and careful application techniques.
Even high-quality paint can look uneven when it is applied to a poorly prepared surface. Visible patches, roller marks, rough areas, brush lines, and uneven coverage can all take away from the finished appearance.
A smooth interior paint finish starts before the first coat is applied.
At Yellow Paint, we believe the best interior painting projects combine careful preparation, quality materials, proper application techniques, and attention to the small details that make a room look complete.
Here are the most important steps to achieving a professional interior paint finish.
1. Start With Proper Wall Preparation
The condition of the wall has a major impact on the final interior paint finish.
Before painting, inspect the entire surface for nail holes, dents, cracks, scratches, old repairs, peeling paint, and uneven areas. These imperfections may be easy to overlook before painting but can become much more noticeable once a fresh coat of paint is applied.
Depending on the condition of the walls, interior painting preparation may include:
- Filling nail holes and small dents
- Repairing minor cracks
- Sanding rough areas
- Removing loose or peeling paint
- Cleaning dirt and grease
- Smoothing previous repairs
- Caulking appropriate gaps around trim
The goal is simple: create the smoothest and cleanest surface possible before painting begins.
2. Clean the Walls Before Painting
Walls can collect dust, fingerprints, grease, cooking residue, and other contaminants over time.
If these substances remain on the surface, they can affect paint adhesion and contribute to an inconsistent paint finish.
Kitchens, hallways, bathrooms, and other high-traffic areas may require additional cleaning before painting.
After cleaning, the surface should be allowed to dry completely before primer or paint is applied.
A professional-looking interior paint finish starts with a surface that is clean, dry, and properly prepared.
3. Repair and Sand Imperfections
Fresh paint does not always hide imperfections. In fact, certain colours and finishes can make them more noticeable.
Small holes and dents should be filled with an appropriate patching compound. Once the material has dried, the repaired area should be sanded until it blends smoothly with the surrounding wall.
Sanding is also useful for smoothing rough areas and preparing certain previously painted surfaces for better adhesion.
After sanding, remove the dust before painting.
This small step can make a significant difference in how smooth the finished interior wall painting looks.
4. Use Primer When the Surface Requires It
Primer is an important part of professional interior painting when the surface needs additional preparation.
It can be especially useful for:
- New drywall
- Repaired areas
- Porous surfaces
- Stained walls
- Significant colour changes
- Surfaces that need improved adhesion
For example, a repaired section of drywall may absorb paint differently from the surrounding wall. Without appropriate preparation, the repaired area can remain visible after the finish coat dries.
Primer helps create a more uniform foundation for the finish paint.
However, not every previously painted wall automatically requires primer. The right approach depends on the condition of the existing surface and the type of paint being applied.
5. Choose the Right Paint and Sheen
The paint colour is important, but the finish or sheen also affects the final appearance.
Different rooms and surfaces may benefit from different finishes.
Lower-sheen paints can help reduce the appearance of minor wall imperfections, while more washable finishes may be useful in areas that receive frequent cleaning or contact.
Trim, doors, and walls may also require different products or finishes.
When selecting paint, consider:
- The condition of the surface
- Natural and artificial lighting
- How much traffic the room receives
- Cleaning requirements
- The desired appearance
- The existing coating
Choosing the right product for the specific room can help produce a better-looking and more practical professional paint finish.
6. Use the Right Tools
Professional results depend partly on using the right tools for the job.
Roller covers, brushes, extension poles, and other equipment should be selected according to the surface and paint being used.
The wrong roller can leave excessive texture or make it difficult to achieve consistent coverage. A suitable brush provides better control around corners, ceilings, doors, windows, and trim.
Good tools do not replace skill, but they make it easier to achieve a consistent interior paint finish.
7. Maintain a Wet Edge
One of the important techniques used to create a consistent paint finish is maintaining a wet edge.
This means working systematically so that adjacent sections of paint can blend together while the coating is still wet.
If one section dries before the next section is blended into it, visible lap marks or differences in sheen can sometimes appear.
This becomes especially important on large walls and in rooms with strong natural light.
Professional painters work in manageable sections and maintain a consistent application pattern to help prevent visible overlaps.
8. Don’t Apply Paint Too Heavily
Trying to achieve complete coverage with one thick coat can create more problems than it solves.
Excessively thick application can lead to:
- Drips
- Runs
- Uneven drying
- Heavy roller texture
- Longer drying times
- Inconsistent appearance
Instead, paint should be applied evenly according to the requirements of the product and surface.
In many situations, applying the appropriate number of coats produces a much more uniform interior paint finish than attempting to cover everything with one heavy coat.
9. Allow Enough Drying and Recoat Time
Patience is an important part of professional interior painting.
Paint may feel dry on the surface while still requiring additional time before another coat can be applied.
Drying and recoat times can vary depending on the product, temperature, humidity, ventilation, and surface conditions.
Applying another coat too soon can affect the final paint finish.
Always follow the manufacturer’s recommended recoat time rather than rushing the process.
10. Pay Attention to Edges and Trim
A room can have beautifully painted walls and still look unfinished if the edges and trim are poorly done.
Clean transitions around ceilings, baseboards, doors, and windows can make a major difference in the overall interior paint finish.
Professional painters take time to create clean lines and carefully control paint around detailed areas.
Trim, doors, and baseboards should also be evaluated separately rather than treating them as an afterthought.
These details may seem small, but they are often what makes a finished room look truly professional.
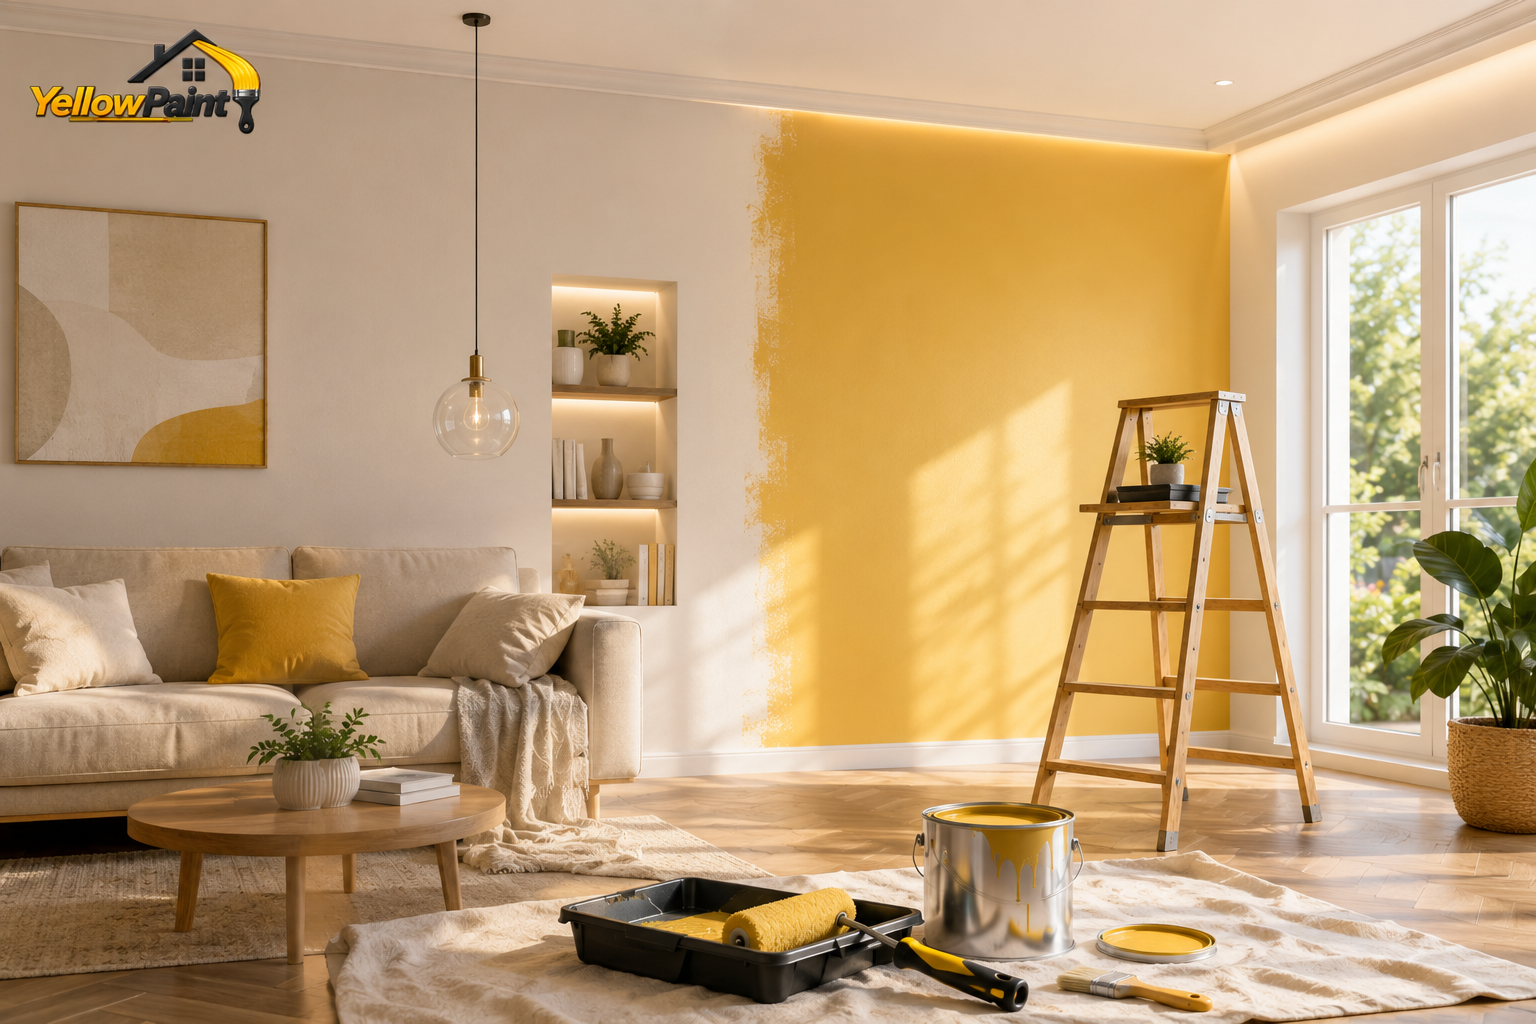
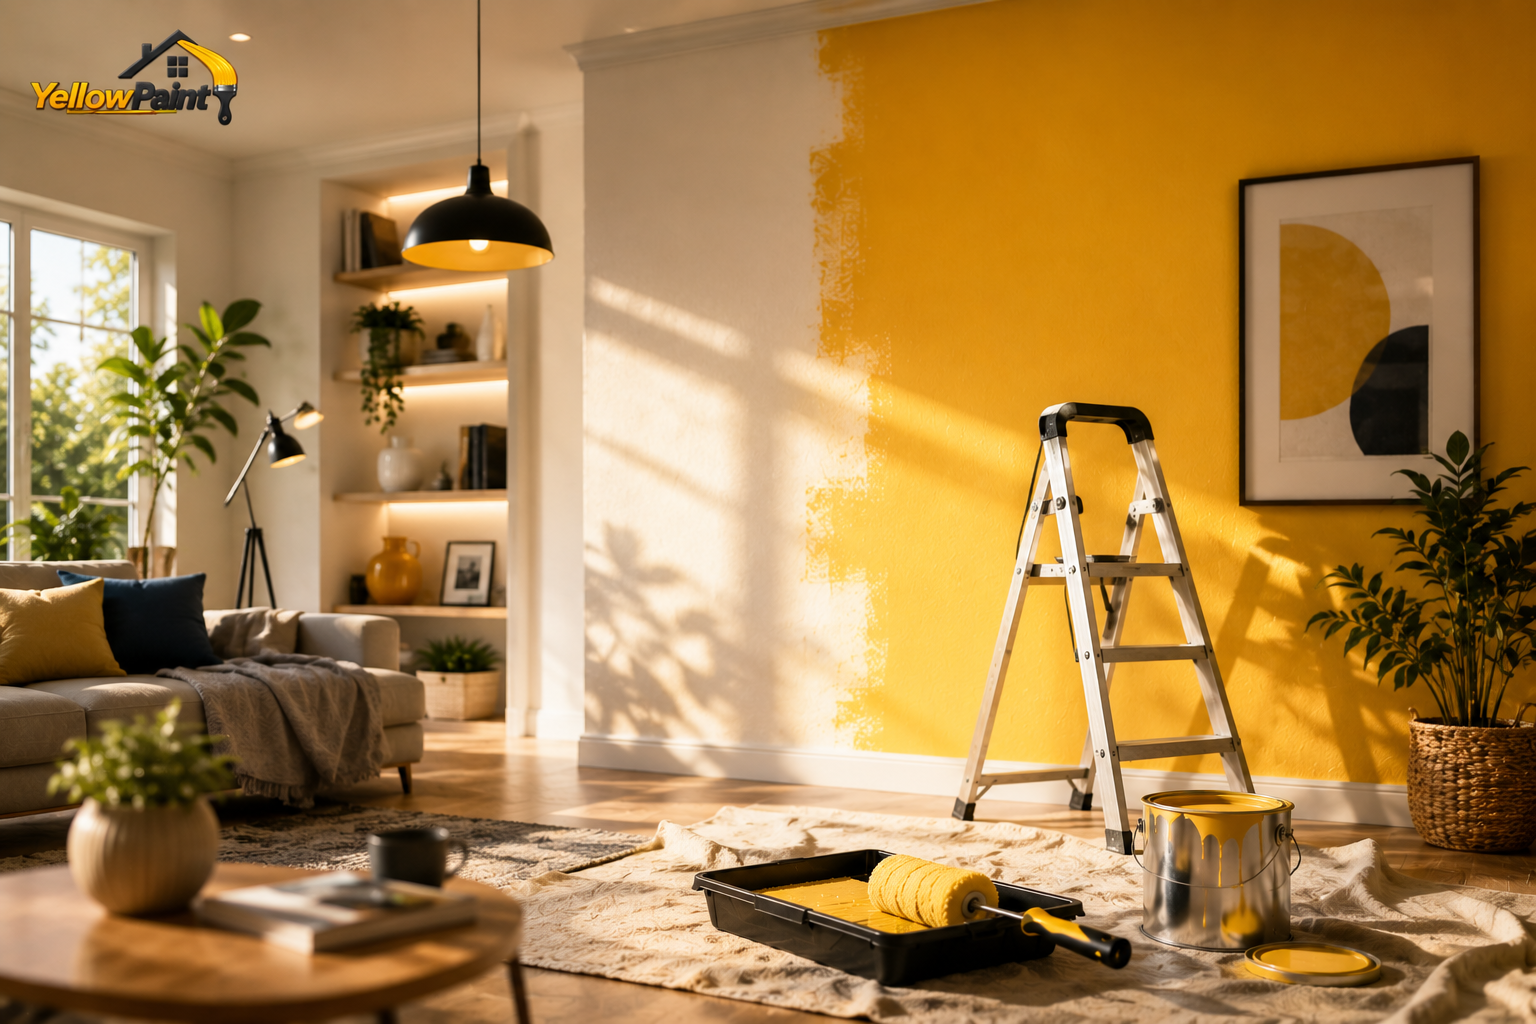
Common Interior Painting Mistakes to Avoid
Many painting problems are caused by rushing the preparation or application process.
Common mistakes include:
- Painting dirty walls
- Skipping necessary repairs
- Failing to sand repaired areas
- Using the wrong roller or brush
- Applying paint too thickly
- Recoating before the previous coat is ready
- Painting over peeling or unstable surfaces
- Ignoring stains or moisture problems
- Leaving sanding dust on the surface
- Failing to protect floors and furniture
- Neglecting trim and detail work
The good news is that most of these problems can be avoided with proper interior painting preparation and careful workmanship.
How Professional Painters Achieve a Smooth Finish
Achieving a smooth interior paint finish requires consistency throughout the entire painting process.
Professional painters pay attention to surface preparation, paint application, roller pressure, brush technique, wet-edge management, drying times, and finishing details.
Cutting in carefully around corners and trim, followed by controlled rolling across larger wall areas, helps create a more consistent appearance.
The goal is not simply to apply paint to the wall. It is to create an even, clean, and durable professional paint finish across the entire surface.
Why Preparation Makes Such a Difference
When you look at a freshly painted room, you mainly notice the colour.
What you don’t see is the preparation that happened beforehand.
Professional painting may involve hours of cleaning, repairing, sanding, protecting surrounding surfaces, priming, and carefully preparing edges before the first finish coat is applied.
That preparation is what gives the final interior paint finish a better foundation.
The quality of the finished paint job is strongly influenced by the quality of the preparation underneath it.
The Yellow Paint Approach
At Yellow Paint, we don’t believe professional interior painting should be rushed.
Every project begins by considering the condition of the surfaces and the requirements of the space.
Our process can include:
Inspection — Identifying imperfections and areas that require attention.
Preparation — Cleaning, repairing, sanding, and preparing surfaces as needed.
Protection — Protecting floors, furniture, fixtures, and surrounding areas.
Priming — Using primer where the surface requires additional preparation or coverage.
Painting — Applying the appropriate products using professional techniques.
Detailing — Paying close attention to edges, trim, corners, doors, and other finishing details.
Final Inspection — Checking the completed work for consistency, coverage, and overall appearance.
The result should not simply be a room with a new colour.
It should be a room that looks clean, polished, and professionally finished.
A Flawless Finish Starts Before the First Coat
Achieving a flawless interior paint finish does not depend on one particular product or technique.
It is the result of doing many things correctly:
Proper preparation.
The right materials.
Quality tools.
Controlled application.
Adequate drying time.
Attention to detail.
When these elements come together, the difference can be seen throughout the entire room.
Whether you’re refreshing one bedroom, updating your living room, repainting your kitchen, or transforming the interior of your entire home, professional preparation and workmanship can make the finished result look dramatically better.
Ready for a Professional Interior Paint Finish?
If your walls are looking tired, outdated, or uneven, a fresh coat of paint can completely change the feel of your space.
At Yellow Paint, we focus on the details that help create a smooth, consistent, professional-looking interior paint finish from preparation through completion.
Contact Yellow Paint today to discuss your interior painting project and give your home the fresh new look it deserves.

Comments (2)
Riva Collins
It’s no secret that the digital industry is booming. From exciting startups to need ghor
global and brands, companies are reaching out.
Oliva Jonson
It’s no secret that the digital industry is booming. From exciting startups to need ghor global and brands, companies are reaching out.