

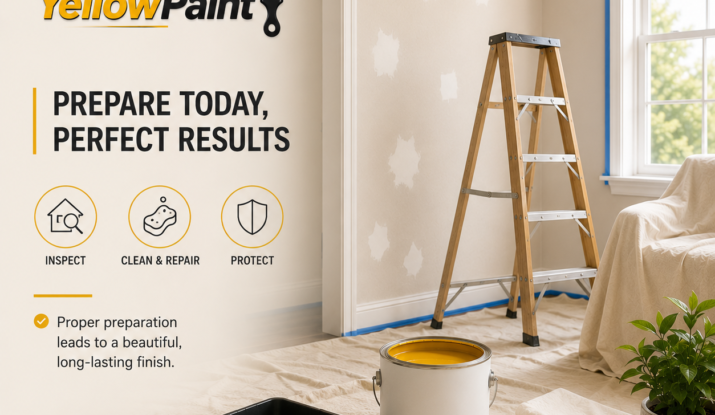
How to Prepare Your Home Before Painters Arrive: Checklist
A professional paint job begins long before the first brush or roller touches the wall. Knowing how to prepare your home before painters arrive can make a major difference in the quality, durability, and appearance of the finished project.
Whether you are refreshing a single room, updating your entire interior, or preparing your home’s exterior for a new coat of paint, proper preparation is one of the most important steps in achieving a clean, durable, professional-looking finish.
At Yellow Paint, we believe that great painting is not simply about applying colour. It is about preparing the surface correctly, protecting your home, identifying potential problems, and creating the right conditions for the paint to perform at its best.
How to Prepare Your Home Before Painting
Paint can only perform as well as the surface underneath it.
Dust, grease, peeling paint, cracks, holes, moisture, and damaged surfaces can all affect adhesion and the final appearance. Painting over these problems may temporarily hide them, but they can eventually show through the new coating or cause premature peeling and cracking.
Proper preparation helps:
- Improve paint adhesion
- Create a smoother finish
- Reduce visible imperfections
- Prevent premature peeling and cracking
- Improve durability
- Produce more consistent colour and sheen
- Protect your furniture, floors, fixtures, and belongings
In many professional painting projects, preparation represents a significant portion of the work because the quality of the final finish depends heavily on what happens before painting begins.
1. Clear and Organize the Space
Before preparation begins, remove as much furniture and decoration from the room as possible.
Smaller furniture, artwork, curtains, lamps, and decorative items should ideally be removed from the work area. Larger pieces that cannot be removed can be carefully moved away from the walls and completely covered.
This gives painters enough room to work safely and helps prevent accidental damage.
Professional preparation should also include protecting:
- Floors
- Furniture
- Countertops
- Light fixtures
- Appliances
- Doors and hardware
- Built-in features
- Other surfaces that are not being painted
A clean, organized workspace allows the painting team to work more efficiently while reducing the risk of spills, splashes, and damage.
For a general overview of the painting process, Benjamin Moore offers a step-by-step guide to painting a room.
2. Remove Wall Accessories and Hardware
Before painting, remove items attached to the surfaces whenever practical.
This can include:
- Picture frames
- Wall decorations
- Curtain hardware
- Switch plates
- Outlet covers
- Vent covers
- Shelves and brackets
- Certain light fixtures or accessories
Removing these items creates cleaner edges and makes it possible to prepare and paint the surface properly rather than simply painting around obstacles.
Small details like these can make a noticeable difference in the final appearance, which is why they belong on any checklist to prepare your home before painters arrive.
3. Inspect the Walls Carefully
Never assume that a wall is ready simply because it looks acceptable from a distance.
Before painting, inspect the entire surface for:
- Nail holes
- Screw holes
- Cracks
- Dents
- Peeling paint
- Blistering
- Water stains
- Loose areas
- Uneven patches
- Previous repair marks
Minor imperfections can usually be repaired before painting. Larger problems may require additional surface work or professional repair before a new coating is applied.
This inspection is especially important in older Canadian homes where previous layers of paint, repairs, moisture exposure, or seasonal movement may have affected the surface.
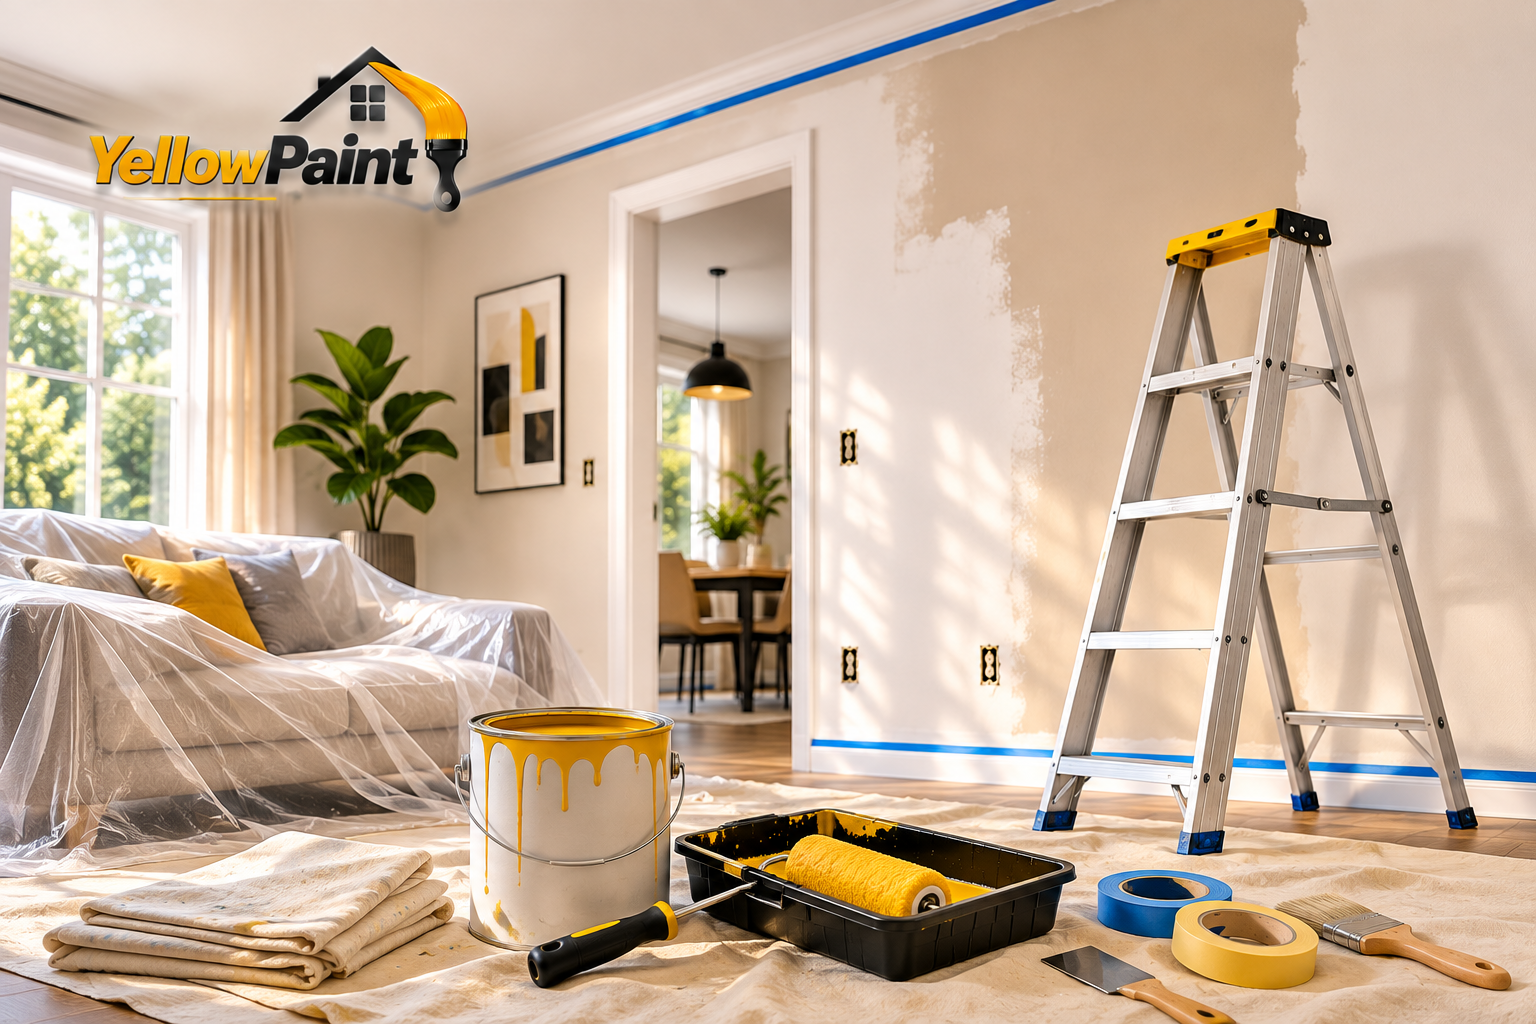
4. Clean the Surfaces
One of the most commonly overlooked preparation steps is cleaning.
Walls and other surfaces can collect dust, grease, fingerprints, smoke residue, and other contaminants over time. If these contaminants remain on the surface, they can interfere with proper paint adhesion.
Kitchen walls, for example, often require more thorough cleaning because of cooking grease and residue.
Depending on the surface and condition, professional preparation may include washing, degreasing, dust removal, or other appropriate cleaning methods.
The surface should ultimately be clean, dry, and free of contaminants before painting begins.
5. Repair Cracks, Holes, and Imperfections
A fresh coat of paint cannot replace proper repairs.
Small holes, dents, cracks, and damaged areas should be filled and allowed to dry before being sanded smooth. Larger or recurring cracks should be investigated rather than simply covered.
After repairs, sanding helps create a smoother transition between the repaired area and the surrounding surface.
This step is particularly important when using lower-sheen paints, because smooth finishes can make surface imperfections more noticeable under certain lighting conditions.
For a detailed walkthrough of repairing, sanding, and priming, read our guide to wall preparation before painting. If the damage is more extensive, our wall and ceiling repair services can help.
6. Deal With Peeling or Damaged Paint
If existing paint is peeling, bubbling, flaking, or separating from the surface, it should not simply be painted over.
Loose material needs to be removed and the affected area properly prepared before the new coating is applied. Depending on the condition, this may involve scraping, sanding, repairing, and priming.
For exterior projects, peeling paint can also be a sign that the surface has been exposed to moisture or that another underlying problem needs attention.
Professional exterior preparation may include washing, scraping loose paint, sanding affected areas, repairing damaged wood, and replacing deteriorated caulking around vulnerable areas.
Not sure whether your exterior needs repainting yet? Read our guide to the signs your home’s exterior needs a fresh coat of paint.
7. Check for Moisture Problems
Moisture is one of the biggest concerns when preparing a home for painting.
Before applying paint, look for signs such as:
- Water stains
- Bubbling paint
- Soft or damaged drywall
- Mould or mildew
- Rotting wood
- Deteriorated caulking
- Persistent dampness
Painting over an active moisture problem can lead to peeling, staining, mould growth, and premature coating failure.
The source of the moisture should be addressed before painting whenever necessary.
For exterior surfaces, particular attention should be given to areas around windows, doors, joints, and other locations where deteriorated caulking or damaged materials can allow water intrusion.
8. Know When Primer Is Necessary
Primer is not automatically required for every painting project, but it can be extremely valuable in the right situation.
Primer may be appropriate when:
- Painting new drywall
- Covering repaired areas
- Painting bare wood
- Changing from a very dark colour to a much lighter colour
- Sealing stains
- Improving adhesion on difficult surfaces
- Preparing certain previously painted surfaces
A repaired area can absorb paint differently from the surrounding wall, which may leave visible patches after the final coat. Priming repaired areas helps create a more uniform surface.
The correct primer should always be selected according to the surface and the coating system being used.
9. Prepare Trim, Doors, and Woodwork
Walls are not the only surfaces that require preparation.
Trim, baseboards, doors, window frames, and other woodwork should also be inspected for dents, cracks, old caulking, peeling paint, and surface damage.
Depending on their condition, preparation may include:
- Cleaning
- Repairing imperfections
- Sanding
- Caulking appropriate gaps
- Priming where required
- Applying the correct finish coating
Careful preparation around trim and transitions is especially important because clean lines are one of the easiest ways to distinguish a professional paint job from a rushed one. Include these details when you prepare your home before painters arrive.
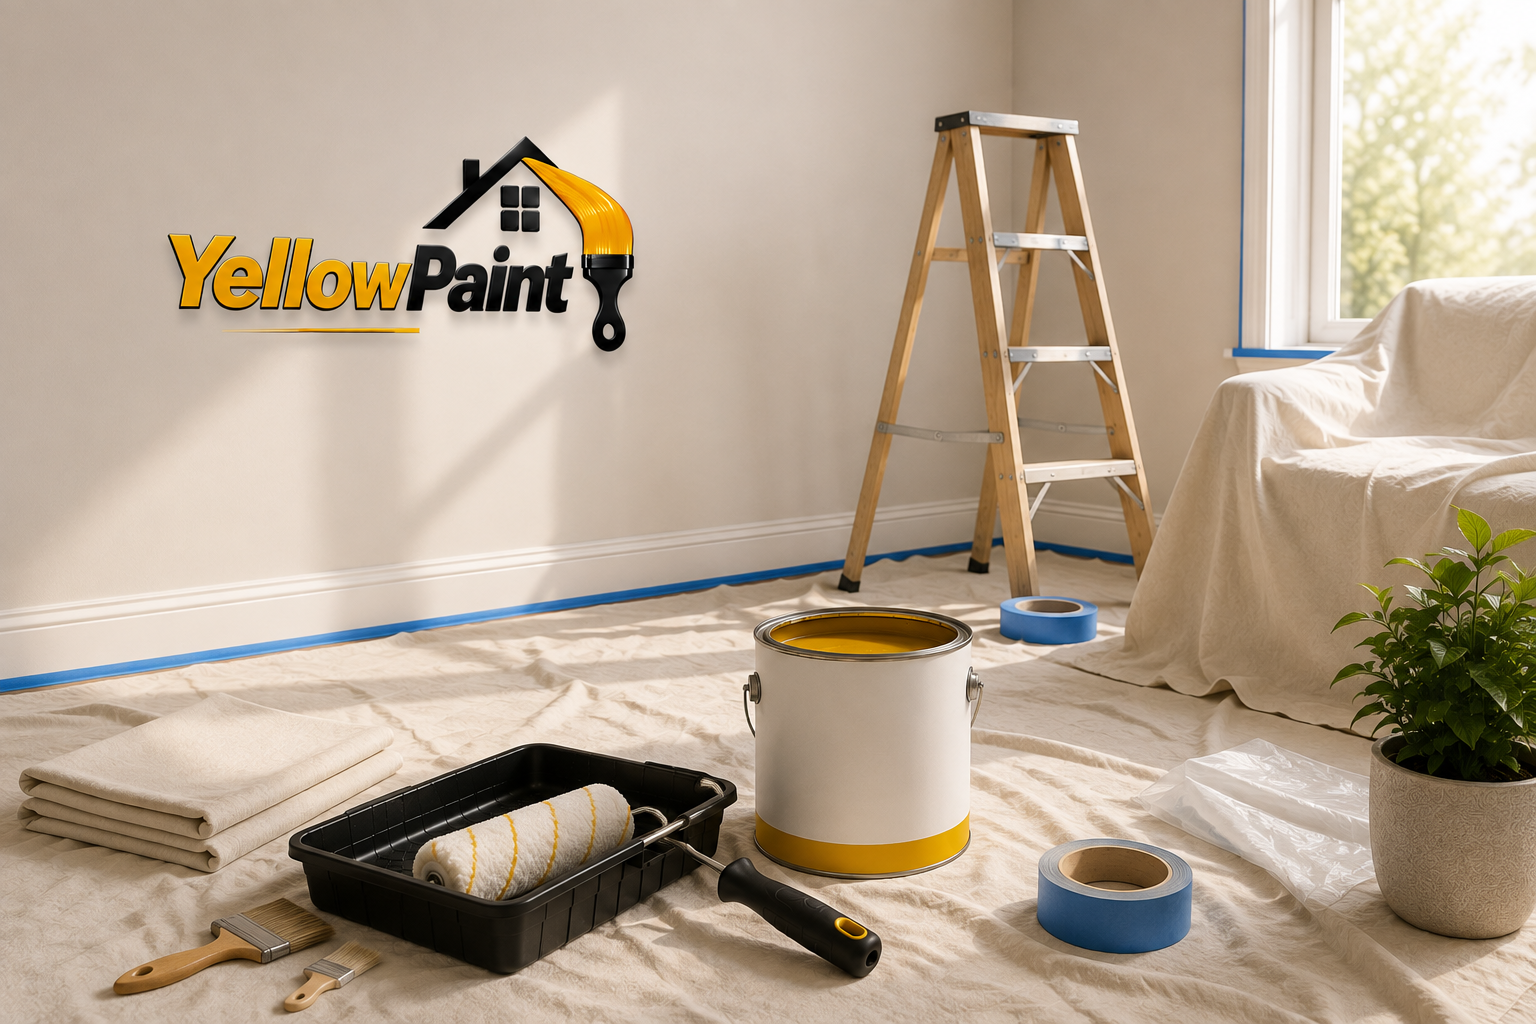
10. Protect Everything That Is Not Being Painted
Professional painters do not simply start painting and clean up afterward.
Protection should be installed before painting begins.
Floors should be covered with appropriate drop cloths, while furniture, cabinetry, fixtures, and other vulnerable surfaces should be protected as needed.
Painter’s tape can also be used where appropriate to create clean transitions around trim, windows, doors, and other surfaces.
The goal is simple: the paint should go where it is intended to go—and nowhere else.
11. Consider Canada’s Seasonal Conditions
For exterior painting, preparation must also take local weather conditions into account.
Canadian homes experience significant seasonal changes, including freezing temperatures, snow, rain, humidity, and strong summer sunlight.
Exterior surfaces should be properly dry and in suitable condition before painting. The paint manufacturer’s application requirements—including temperature and drying conditions—should always be followed.
Painting at the wrong time can affect drying, adhesion, durability, and the overall finish.
A professional painting company evaluates the condition of the surface and the surrounding conditions before beginning exterior work. This is also worth keeping in mind when you prepare your home before painters arrive for an exterior project.
12. Keep the Work Area Clean
Preparation does not end when sanding is finished.
Dust created during repairs and sanding should be thoroughly removed before painting. Otherwise, particles can settle into wet paint and compromise the finish.
A professional workflow keeps the work area organized throughout the project and removes dust and debris before the final coating is applied.
This is particularly important when a smooth, high-quality finish is the goal.
Understanding how to prepare your home before painting can help homeowners avoid common preparation mistakes and achieve better results from their painting project. Taking these steps to prepare your home before painters arrive also helps the project start smoothly and on schedule.
Why It Pays to Prepare Your Home Before Painters Arrive
Paint can only perform as well as the surface underneath it. That is why it is worth taking the time to prepare your home before painters arrive.
At Yellow Paint, our approach begins with understanding the condition of your home and preparing each surface for the coating it needs. Our interior painting services and exterior house painting services both focus on the details that are often overlooked: repairs, cleaning, sanding, caulking, priming, protection, and proper preparation.
The result is a cleaner application, better-looking finish, and a painting project designed to last. When you prepare your home before painters arrive, the team can spend more time on the work that matters most.
Frequently Asked Questions
How do I prepare my home before painters arrive?
To prepare your home before painters arrive, clean the surfaces, repair cracks and holes, remove loose paint, address moisture problems, protect furniture and floors, and use primer when necessary. Proper preparation helps create a smoother and more durable finish.
Do walls need to be cleaned before painting?
Yes. Cleaning removes dust, grease, dirt, and other contaminants that can interfere with paint adhesion and affect the final finish.
Do I need primer before painting?
Primer is not required for every project, but it can be important for new drywall, repaired areas, bare wood, stains, major colour changes, and difficult surfaces.
Should I repair cracks before painting?
Yes. Cracks, holes, dents, and damaged areas should be properly repaired and prepared before new paint is applied.
Can I paint over peeling paint?
No. Loose, peeling, or bubbling paint should be removed and the surface properly prepared before applying a new coating. Peeling paint can also indicate an underlying moisture or surface problem that should be addressed first.
Ready to Prepare Your Home for a Fresh New Look?
Whether you’re planning an interior refresh or a complete exterior transformation, Yellow Paint can help you prepare your home before painters arrive and achieve a professional finish.
Contact Yellow Paint today to discuss your painting project and get started.

1 Comment
Oliva Jonson
It’s no secret that the digital industry is booming. From exciting startups to need ghor global and brands, companies are reaching out.