

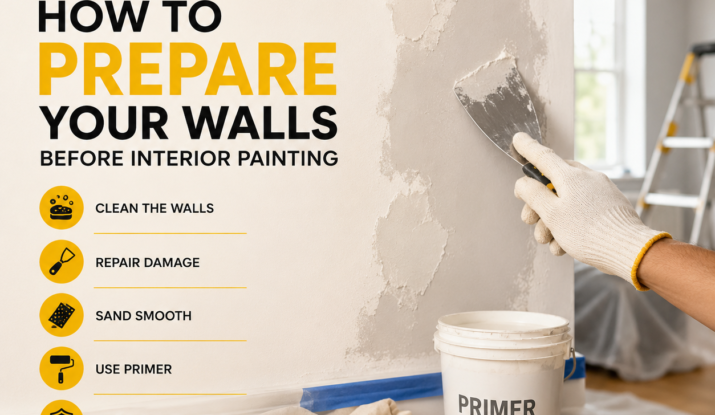
How to Prepare Your Walls Before Interior Painting
Wall preparation before painting is an important part of any professional interior painting project. Even high-quality paint may not produce a smooth and lasting finish if the walls are covered with dirt, damaged areas, or uneven surfaces.
Before applying new paint, the walls should be carefully inspected, cleaned, repaired, and prepared. Proper preparation helps the paint adhere more effectively and can make a noticeable difference in the final appearance of the room.
1. Inspect the Walls Before Painting
Start by examining the walls carefully from top to bottom. Look for nail holes, cracks, dents, peeling paint, stains, or areas where the surface feels uneven.
Identifying these problems before painting allows you to address them properly instead of allowing imperfections to show through the new paint.
Pay particular attention to areas around windows, doors, corners, and high-traffic sections of the room, as these areas may require additional preparation.
2. Clean the Walls
Dust, dirt, grease, and everyday buildup can interfere with paint adhesion. Before painting, remove loose dust and dirt from the walls using a clean cloth, soft brush, or vacuum where appropriate.
For walls with heavier dirt or grease, particularly in kitchens and other high-use areas, use a suitable mild cleaning solution. Avoid leaving excessive moisture on the surface and allow the walls to dry completely before continuing.
A clean, dry surface provides a better foundation for the next stages of the painting process.
3. Repair Holes, Cracks, and Dents
Small imperfections can become much more noticeable after a fresh coat of paint is applied. Fill nail holes, small cracks, dents, and other minor damaged areas with an appropriate patching or repair compound.
Allow the repair material to dry according to the manufacturer’s instructions. Once it is fully dry, sand the repaired areas until they are smooth and level with the surrounding wall.
For larger cracks or signs of significant wall damage, professional assessment may be necessary before painting begins.
4. Sand Rough or Glossy Areas
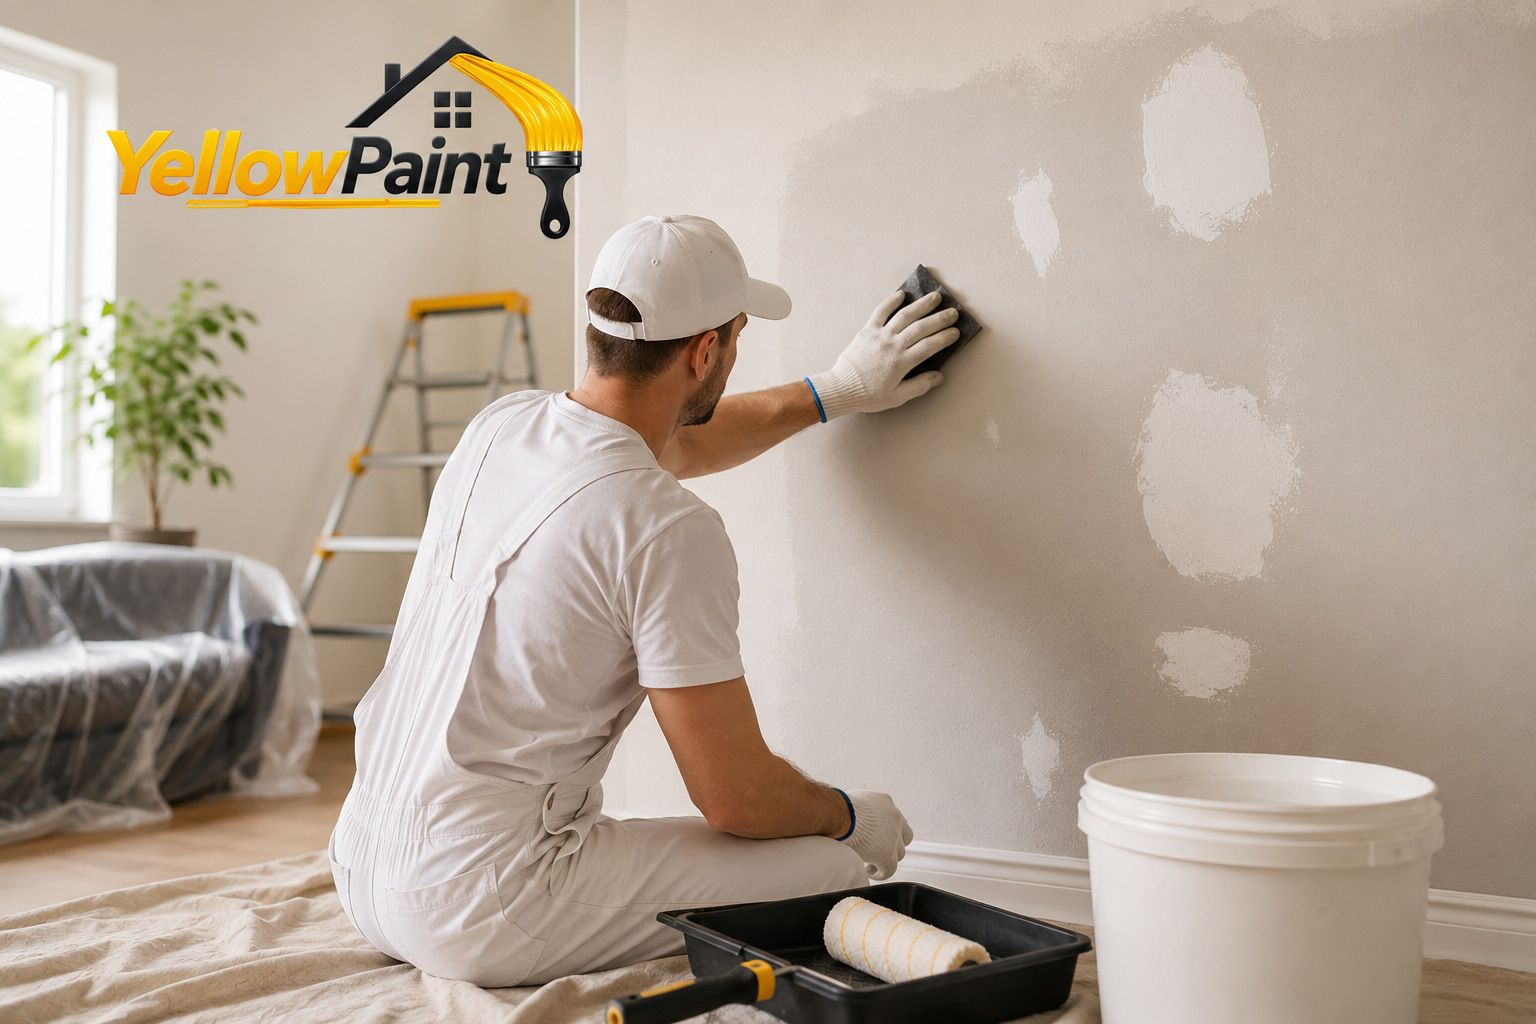
Sanding helps create a smoother and more consistent surface for interior paint. Focus on repaired areas, rough spots, and places where old paint has created an uneven texture.
Previously painted walls with a glossy finish may also benefit from light sanding to improve the surface for the new coating.
After sanding, remove all dust from the walls and surrounding area. Any remaining dust can affect the appearance and adhesion of the new paint.
5. Remove Peeling or Flaking Paint
Never rely on a new coat of paint to hide loose or damaged old paint. Areas that are peeling, flaking, or separating from the wall should be carefully removed before repainting.
Once the loose paint has been removed, smooth the edges of the affected area and repair the surface as needed. The wall should then be clean, dry, and stable before primer or paint is applied.
If peeling paint is caused by moisture or another underlying problem, that issue should be addressed before repainting. Otherwise, the new finish may develop similar problems again.
6. Apply Primer When Necessary
Primer can provide an important base for interior painting, especially when the wall has repaired areas, stains, porous surfaces, or a significant colour change.
A suitable primer can help create a more uniform surface and improve the performance of the final paint. However, primer is not automatically required for every previously painted wall. The condition of the existing surface and the type of paint being applied should be considered when deciding whether primer is necessary.
7. Protect the Room Before Painting
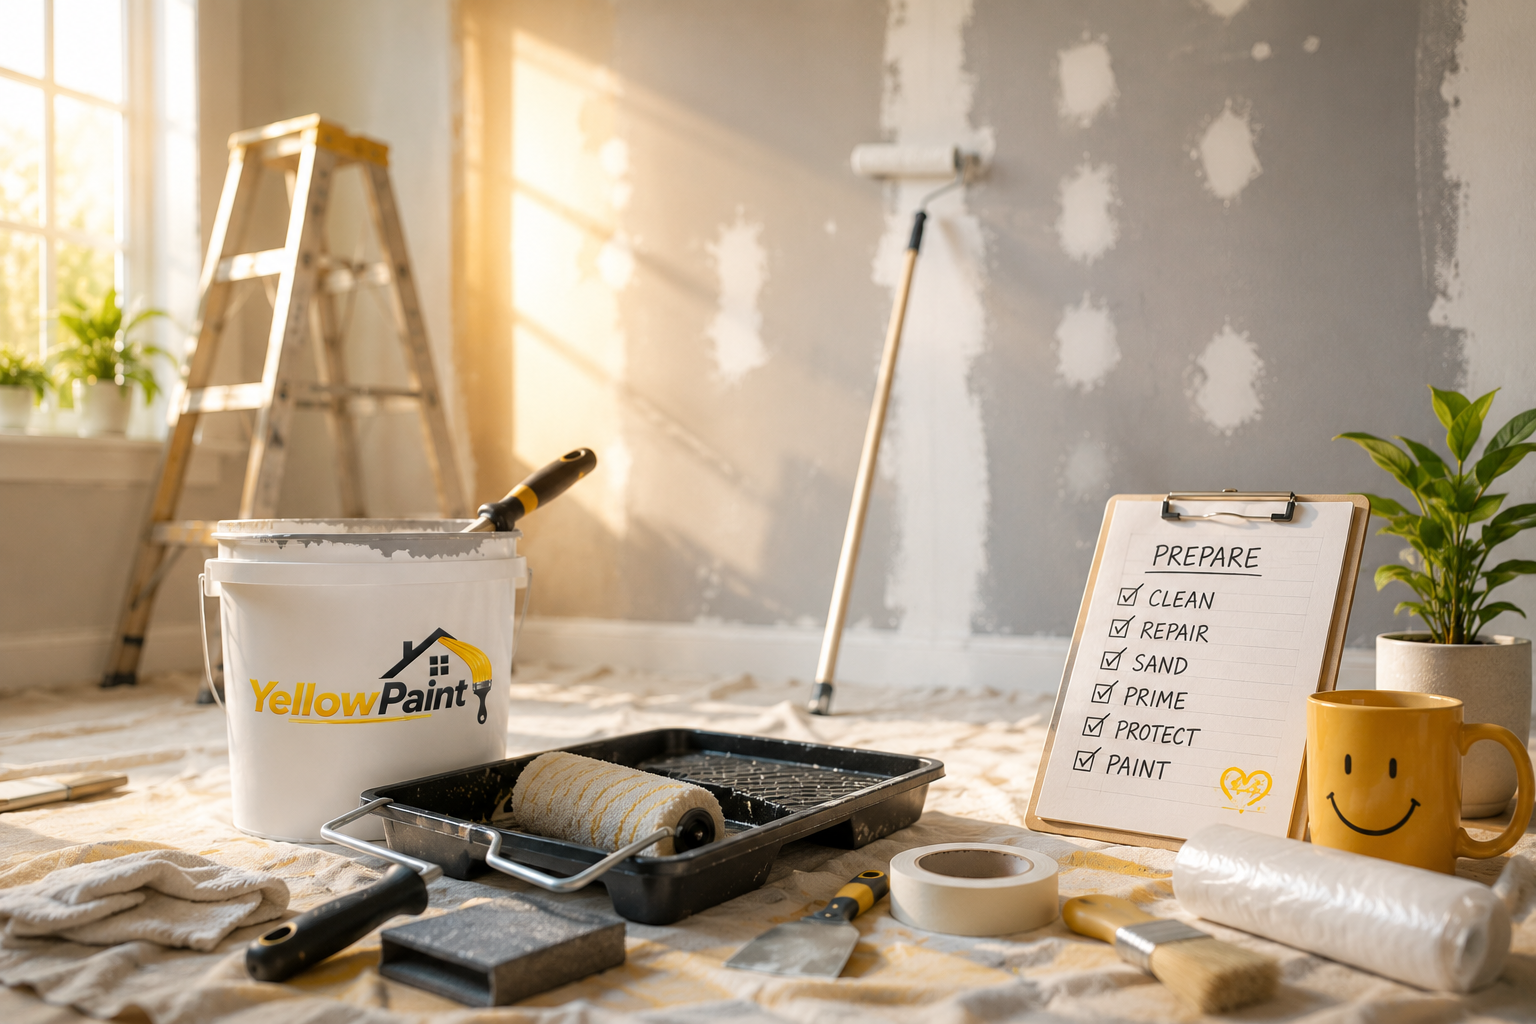
Wall preparation before painting also involves protecting the rest of the room. Move furniture away from the walls or remove it from the room when possible. Cover floors and remaining furniture with appropriate drop cloths.
Remove wall decorations and protect areas that should not receive paint. Light switches, electrical outlets, trim, and other nearby surfaces should be properly covered or protected before painting begins.
Taking these precautions helps create a cleaner work area and reduces the chance of accidental paint splashes or damage.
Why Wall Preparation Before Painting Matters
Proper wall preparation is one of the most important parts of an interior painting project. A clean, smooth, and stable surface allows paint to be applied more evenly and helps create a professional-looking finish.
Skipping preparation can leave cracks, dents, dust, and other imperfections visible after painting. In some cases, it can also contribute to peeling, poor adhesion, or a shorter-lasting finish.
At Yellow Paint, we believe quality painting starts with careful preparation. Our interior painting services focus on properly preparing surfaces, paying attention to detail, and delivering a clean and professional result.
Ready to Refresh Your Interior?
Whether you are updating one room or planning a complete interior painting project, proper preparation can help you achieve a better result.
If you need professional help with wall preparation before painting or with your complete interior painting project, contact Yellow Paint to discuss your project and find the right painting solution for your space.

Comments (3)
Riva Collins
It’s no secret that the digital industry is booming. From exciting startups to need ghor
global and brands, companies are reaching out.
CaseThemes
It’s no secret that the digital industry is booming. From exciting startups to need ghor global and brands, companies are reaching out.
Oliva Jonson
It’s no secret that the digital industry is booming. From exciting startups to need ghor global and brands, companies are reaching out.